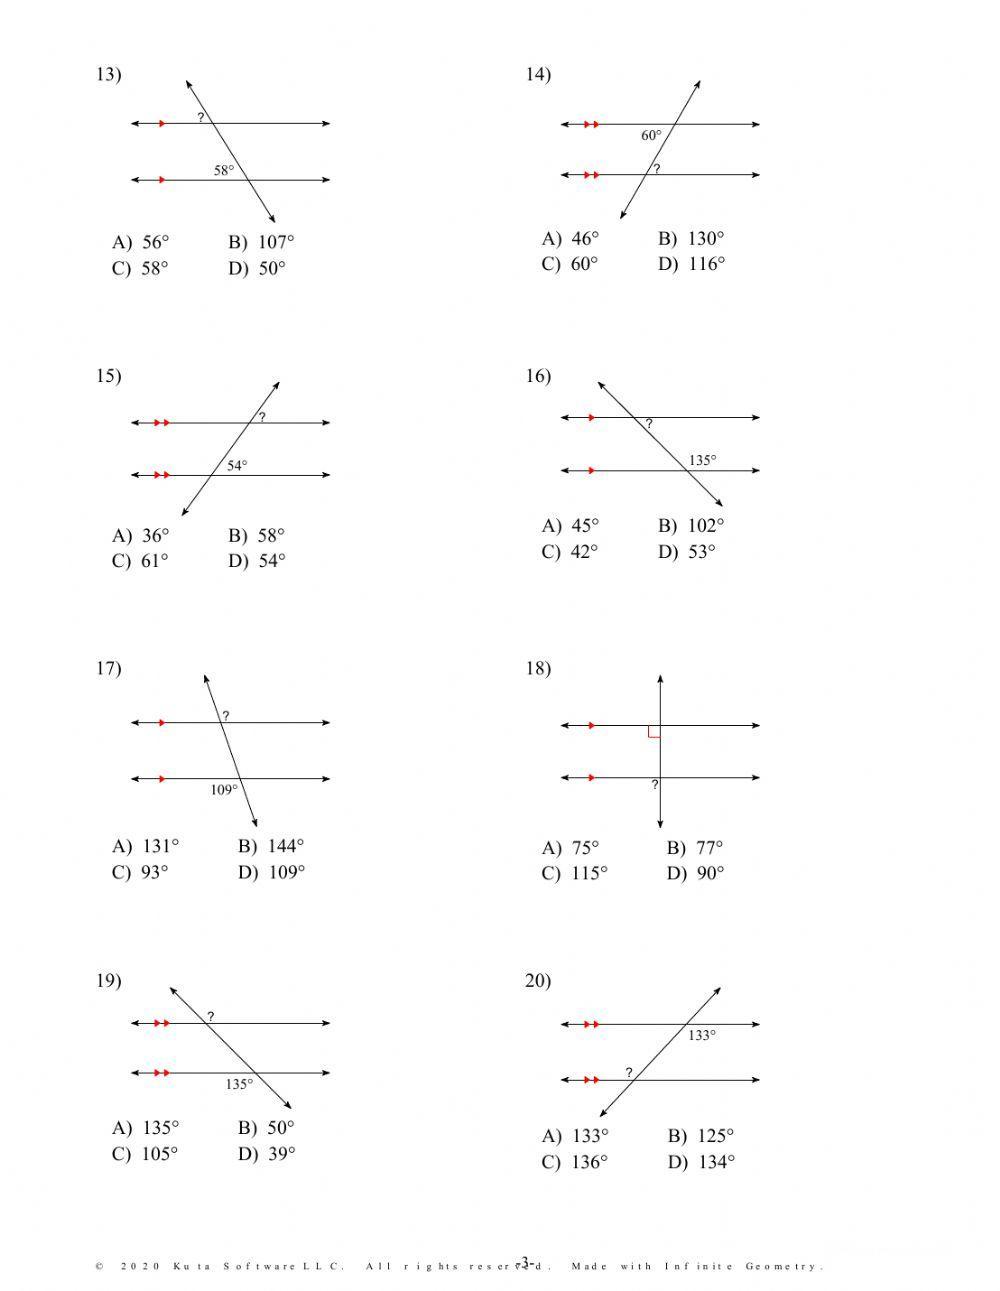
Many educators and parents assume that the learning process reaches its conclusion the moment the final answer is filled in on a page. However, viewing a geometry transversal worksheet as the final destination misses a golden opportunity to turn abstract math into a tangible reality.
A geometry transversal worksheet serves as the foundational practice ground where students familiarize themselves with the vocabulary and visual logic of parallel lines intersected by a third line. By working through these problems, students identify key angle relationships like corresponding, alternate interior, and consecutive interior angles in a controlled, two-dimensional environment. This repetitive practice is essential for building the mental scaffolding required to recognize these geometric patterns in the complex, three-dimensional world outside the classroom.
Start With Geometry Transversal Worksheet
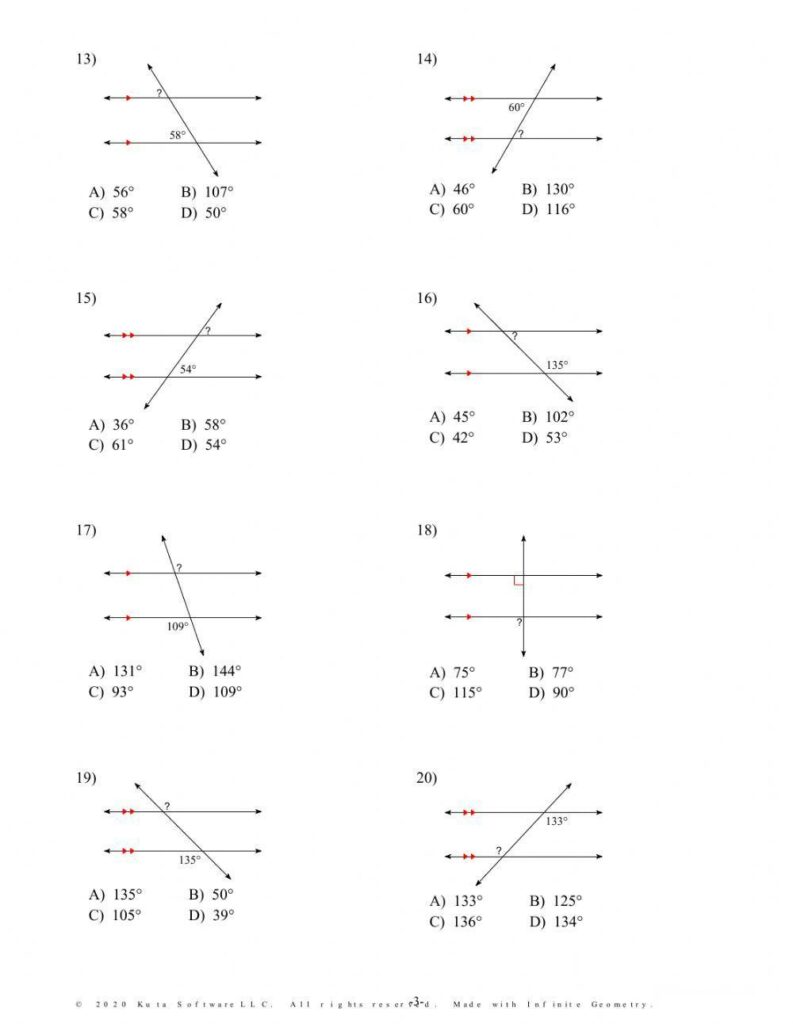
Once the initial concepts are mastered on paper, it is time to look at the world through a geometric lens. You can find transversals in almost any man-made structure, such as the pattern of tiles on a kitchen floor, the intersection of rafters in a roof, or even the layout of roads on a city grid. Encouraging a child to identify these shapes in their own neighborhood helps transform dry textbook theory into a practical skill that helps them make sense of the architecture around them.
When you are out in the field, ask the child to explain what they notice about the intersections they find. Ask probing questions such as whether the lines appear perfectly parallel, how the angles change if the transversal line rotates, or what would happen if the two parallel lines were not actually parallel at all. These inquiries encourage the child to look beyond the surface and begin to hypothesize about the mathematical rules governing the shapes they see.
Turn the Concept Into a Small Experiment
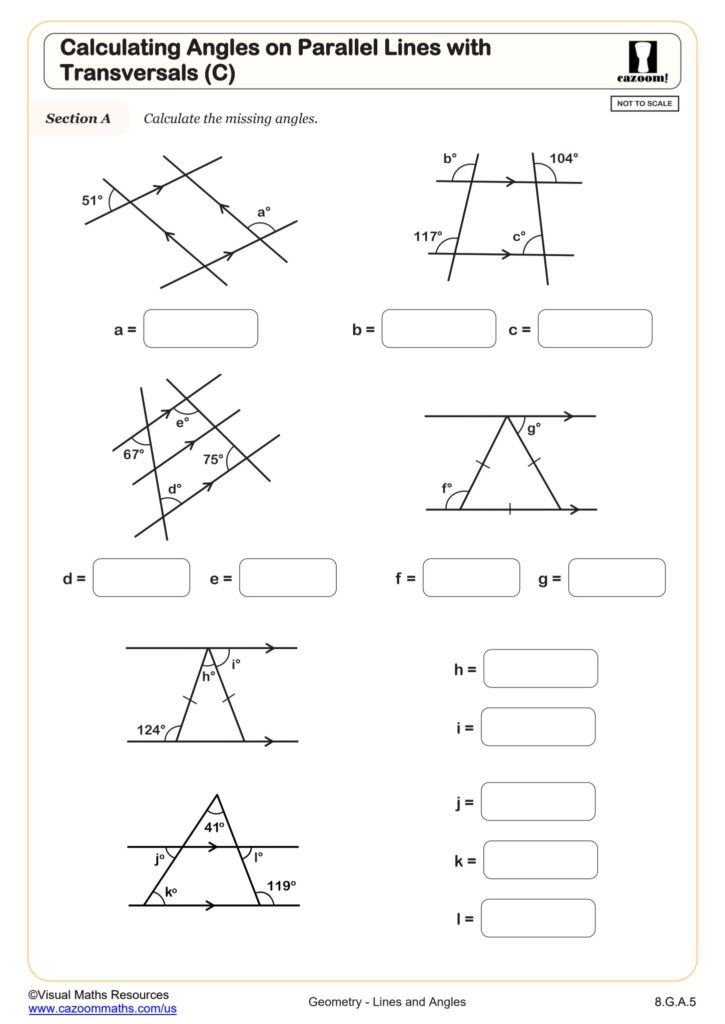
To deepen the understanding of these concepts, turn the math into a hands-on experiment using simple household items. Use painters tape on a floor or table to create various transversal configurations, then invite the student to use a protractor to measure the resulting angles and verify their earlier worksheet calculations. This tactile experience bridges the gap between the static diagram on a page and the dynamic nature of geometry, allowing the student to see how lines and angles behave in real space.
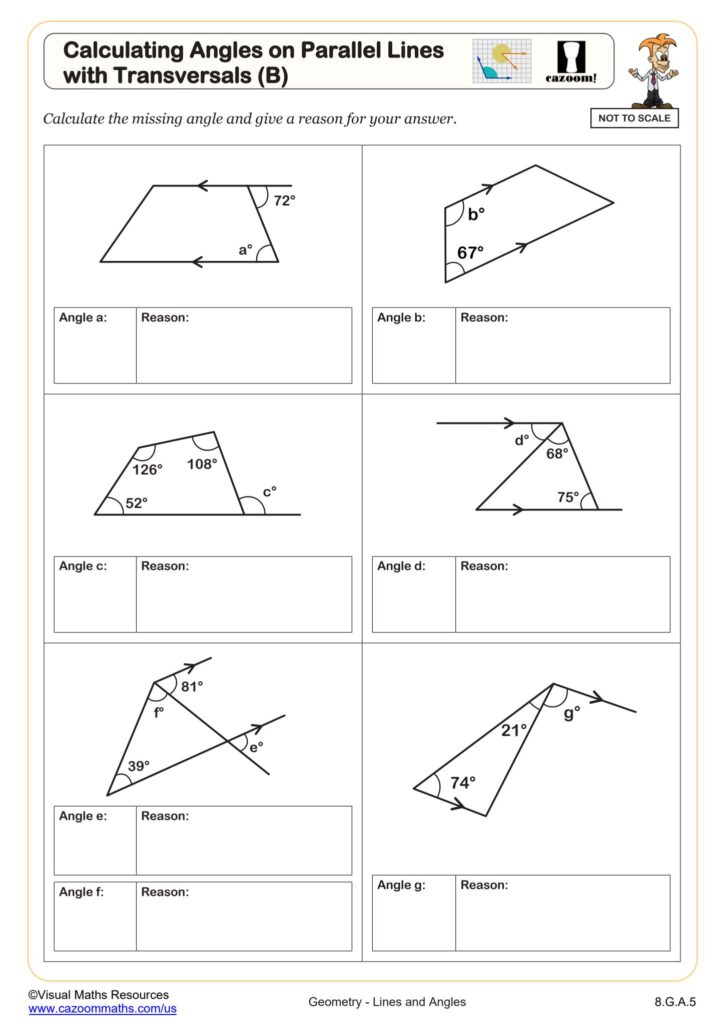
Finally, challenge the student to create something new based on what they have learned. They might draw a blueprint for a bridge that incorporates specific transversal angles, write a short guide explaining to a peer why those angles create structural stability, or build a model using popsicle sticks and glue. This creative phase allows them to demonstrate their mastery by synthesizing the abstract concepts they practiced on the worksheet into an original, physical construction that they can hold and examine.
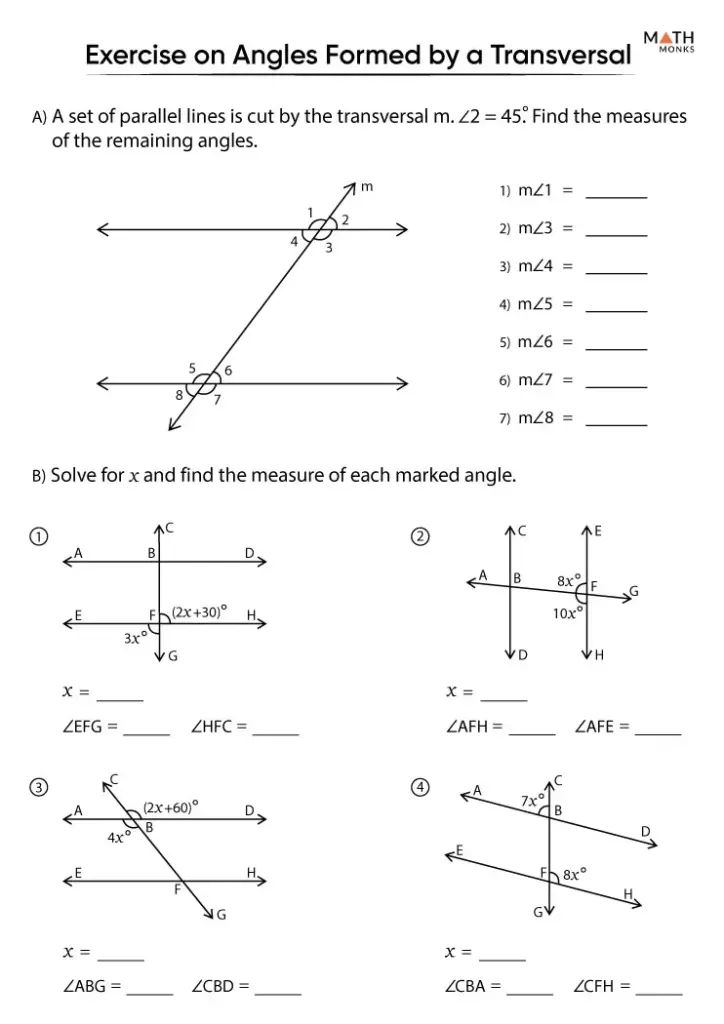
The true value of a geometry transversal worksheet is not found in the completion of the exercises alone, but in its role as a before-and-after tool. By using the worksheet first as a precursor to introduce terminology and later as a review to test understanding after an experiment, you create a complete pedagogical cycle. This method ensures that math is not just a chore to be finished, but a versatile set of tools that prepares students to observe, analyze, and build the world around them.